FlowForge / How to set up
Set up FlowForge in about five minutes
Setting up FlowForge takes three steps: choose a home for your notes, allow the microphone, and start capturing. There is no account and no login, and destinations like Obsidian, Notion, Files, and Calendar are connected later in Settings, only when you want them.
Three steps to your first note
Open FlowForge and choose a starting point
On first launch, pick where your notes should live: keep them on the iPhone, sync with Obsidian, or decide later. This records a preference. Nothing is forced and no picker or sign-in runs yet.
Allow the microphone
The microphone is the only permission FlowForge needs to capture voice. Decline anything else and your notes still save. Speech-to-text runs on the device, so audio never leaves the phone for transcription.
Start capturing
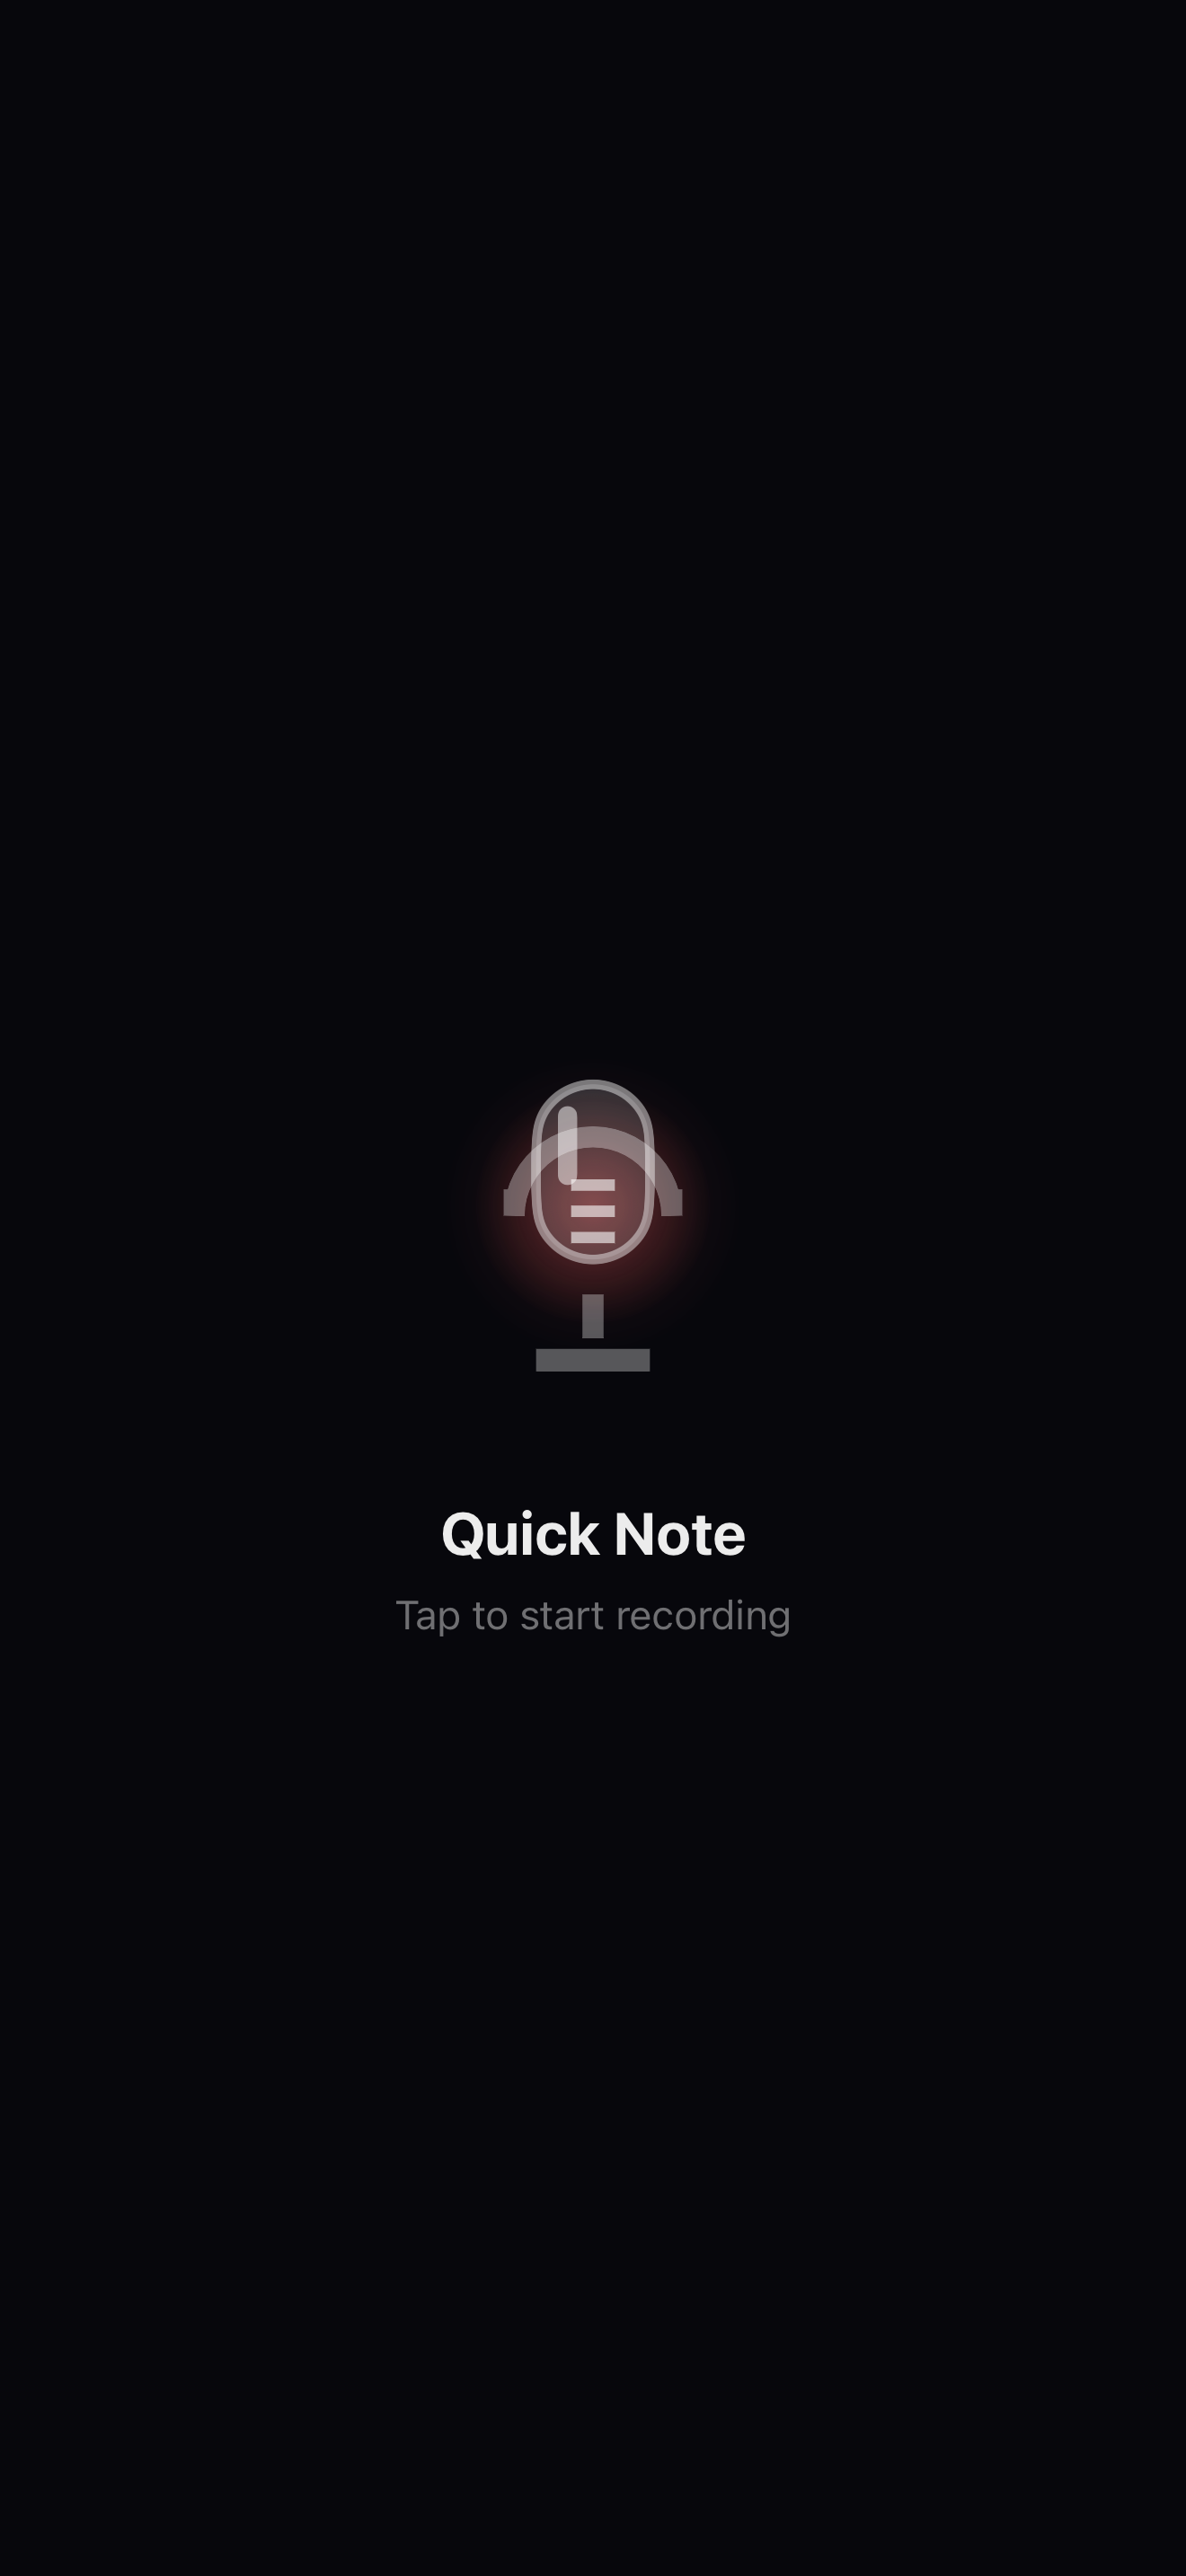
Tap the mic, use the Action Button, or ask Siri. FlowForge transcribes, and Apple Intelligence cleans up the note on device. Add Calendar, destinations, and Face ID later, when they are useful to you.
Useful before you connect anything
No account, no login
There is nothing to sign up for. FlowForge opens straight into capture, and your notes are yours on the device.
One permission to start
The microphone is all it needs to record. Everything else is optional and asked for only when you use it.
Add destinations when ready
Connect Obsidian, Notion, Files, Todoist, and Calendar later in Settings. The core loop works before you connect anything.
Set up only what you need, in Settings
Every destination that needs a picker or a sign-in is connected in Settings, not during onboarding. Apple Notes export and Obsidian vault sync through the Mac relay are free. A Files folder, Notion, Google Drive, Todoist, and automatic Calendar and Reminders writes are part of the one-time FlowForge Pro unlock.
On-device polish and summaries use Apple Intelligence, which needs a supported iPhone with the feature enabled on iOS 26 or later. Without it, FlowForge still captures, transcribes, and saves your notes, so nothing about setup depends on it.
Questions, answered
How do I set up FlowForge?
Open the app and choose where your notes should live, allow the microphone, and start capturing. That is the whole first run. Everything else, like calendar writes and destinations, is optional and set up later in Settings when you want it.
What permissions does FlowForge need?
Only the microphone, and only for voice capture. Calendar, Reminders, and other access are requested later and only if you use those features. Speech-to-text runs on the iPhone, so your audio never leaves the device for transcription.
How do I connect Obsidian, Notion, or a Files folder?
Open Settings and go to Destinations. Apple Notes export and Obsidian vault sync (through the Mac relay) are free. A Files folder, Notion, Google Drive, Todoist, and automatic calendar writes are part of the one-time FlowForge Pro unlock.
Do I need Apple Intelligence to use FlowForge?
No. On-device polish and summaries use Apple Intelligence, which needs a supported iPhone with the feature enabled on iOS 26 or later. Without it, FlowForge still captures, transcribes, and saves your notes.
Open it and start talking.
FlowForge is free to download. Choose a home for your notes, allow the microphone, and capture your first note. Everything else waits until you need it.